Why you shouldn't shoot photos on the Panasonic S1 with VLog enabled
So like me, you probably have stumbled upon this post because you went out and shot a bunch of photo’s with your Panasonic S1 and got home all excited to edit, you brought everything into Adobe Lightroom and BAM, every shot is dark and underexposed and looks like hot garbage. You start to panic slightly, questioning the camera, questioning yourself, thinking maybe you just royally messed up the settings. Well lucky for you, I am here to try and break down all of the reasons why you shouldn’t shoot photos with the Panasonic S1 in VLog.
Let me start off with saying, not all is lost if you accidentally have done this. You can certainly fix this issue by boosting exposure by 2 full stops and adjusting the curves a little. But let’s dive a little deeper into what exactly is going on, we start on the the sensor level.
WHY
To figure out the why, we have to look at the sensor itself and what is happening to it on a hardware level when you record in a Log profile. When we examine the characteristics of the sensor in the S1 we see that the sensor is capable of an impressive 12.2 stops. This is more dynamic range than that of certain dedicated cinema cameras such as the Sony FS7, but if we dive even deeper into the data we see where in the image this sensor best preforms. The sensor preforms considerably better in the shadows than it does in the highlights. From 50% we can see 4 stops up and 8 stops down of useable dynamic range.
Knowing this, when a manufacturer creates a Log profile, they are trying to push the image into a range of the sensor that preforms the best, and for the Panasonic S1, you want a darker the image to help protect highlights and give the sensor the best possible dynamic range.
Now that we know the theory, the practical application of this is that the Panasonic S1 when shooting in the VLog profile will underexpose the image by 2 stops on the sensor level. Like with most camera’s shooting Log, you can choose to apply a viewing LUT in camera so that the image you see through the EVF is corrected and boosted. Alternatively, the VLog footage once brought into your NLE and a base LUT is applied, will also mimic that look you saw while shooting, but the actual recorded footage is 2 stops underexposed to protect those highlights and to play into the sensors strengths, which as mentioned previously, is holding onto detail in the shadows.
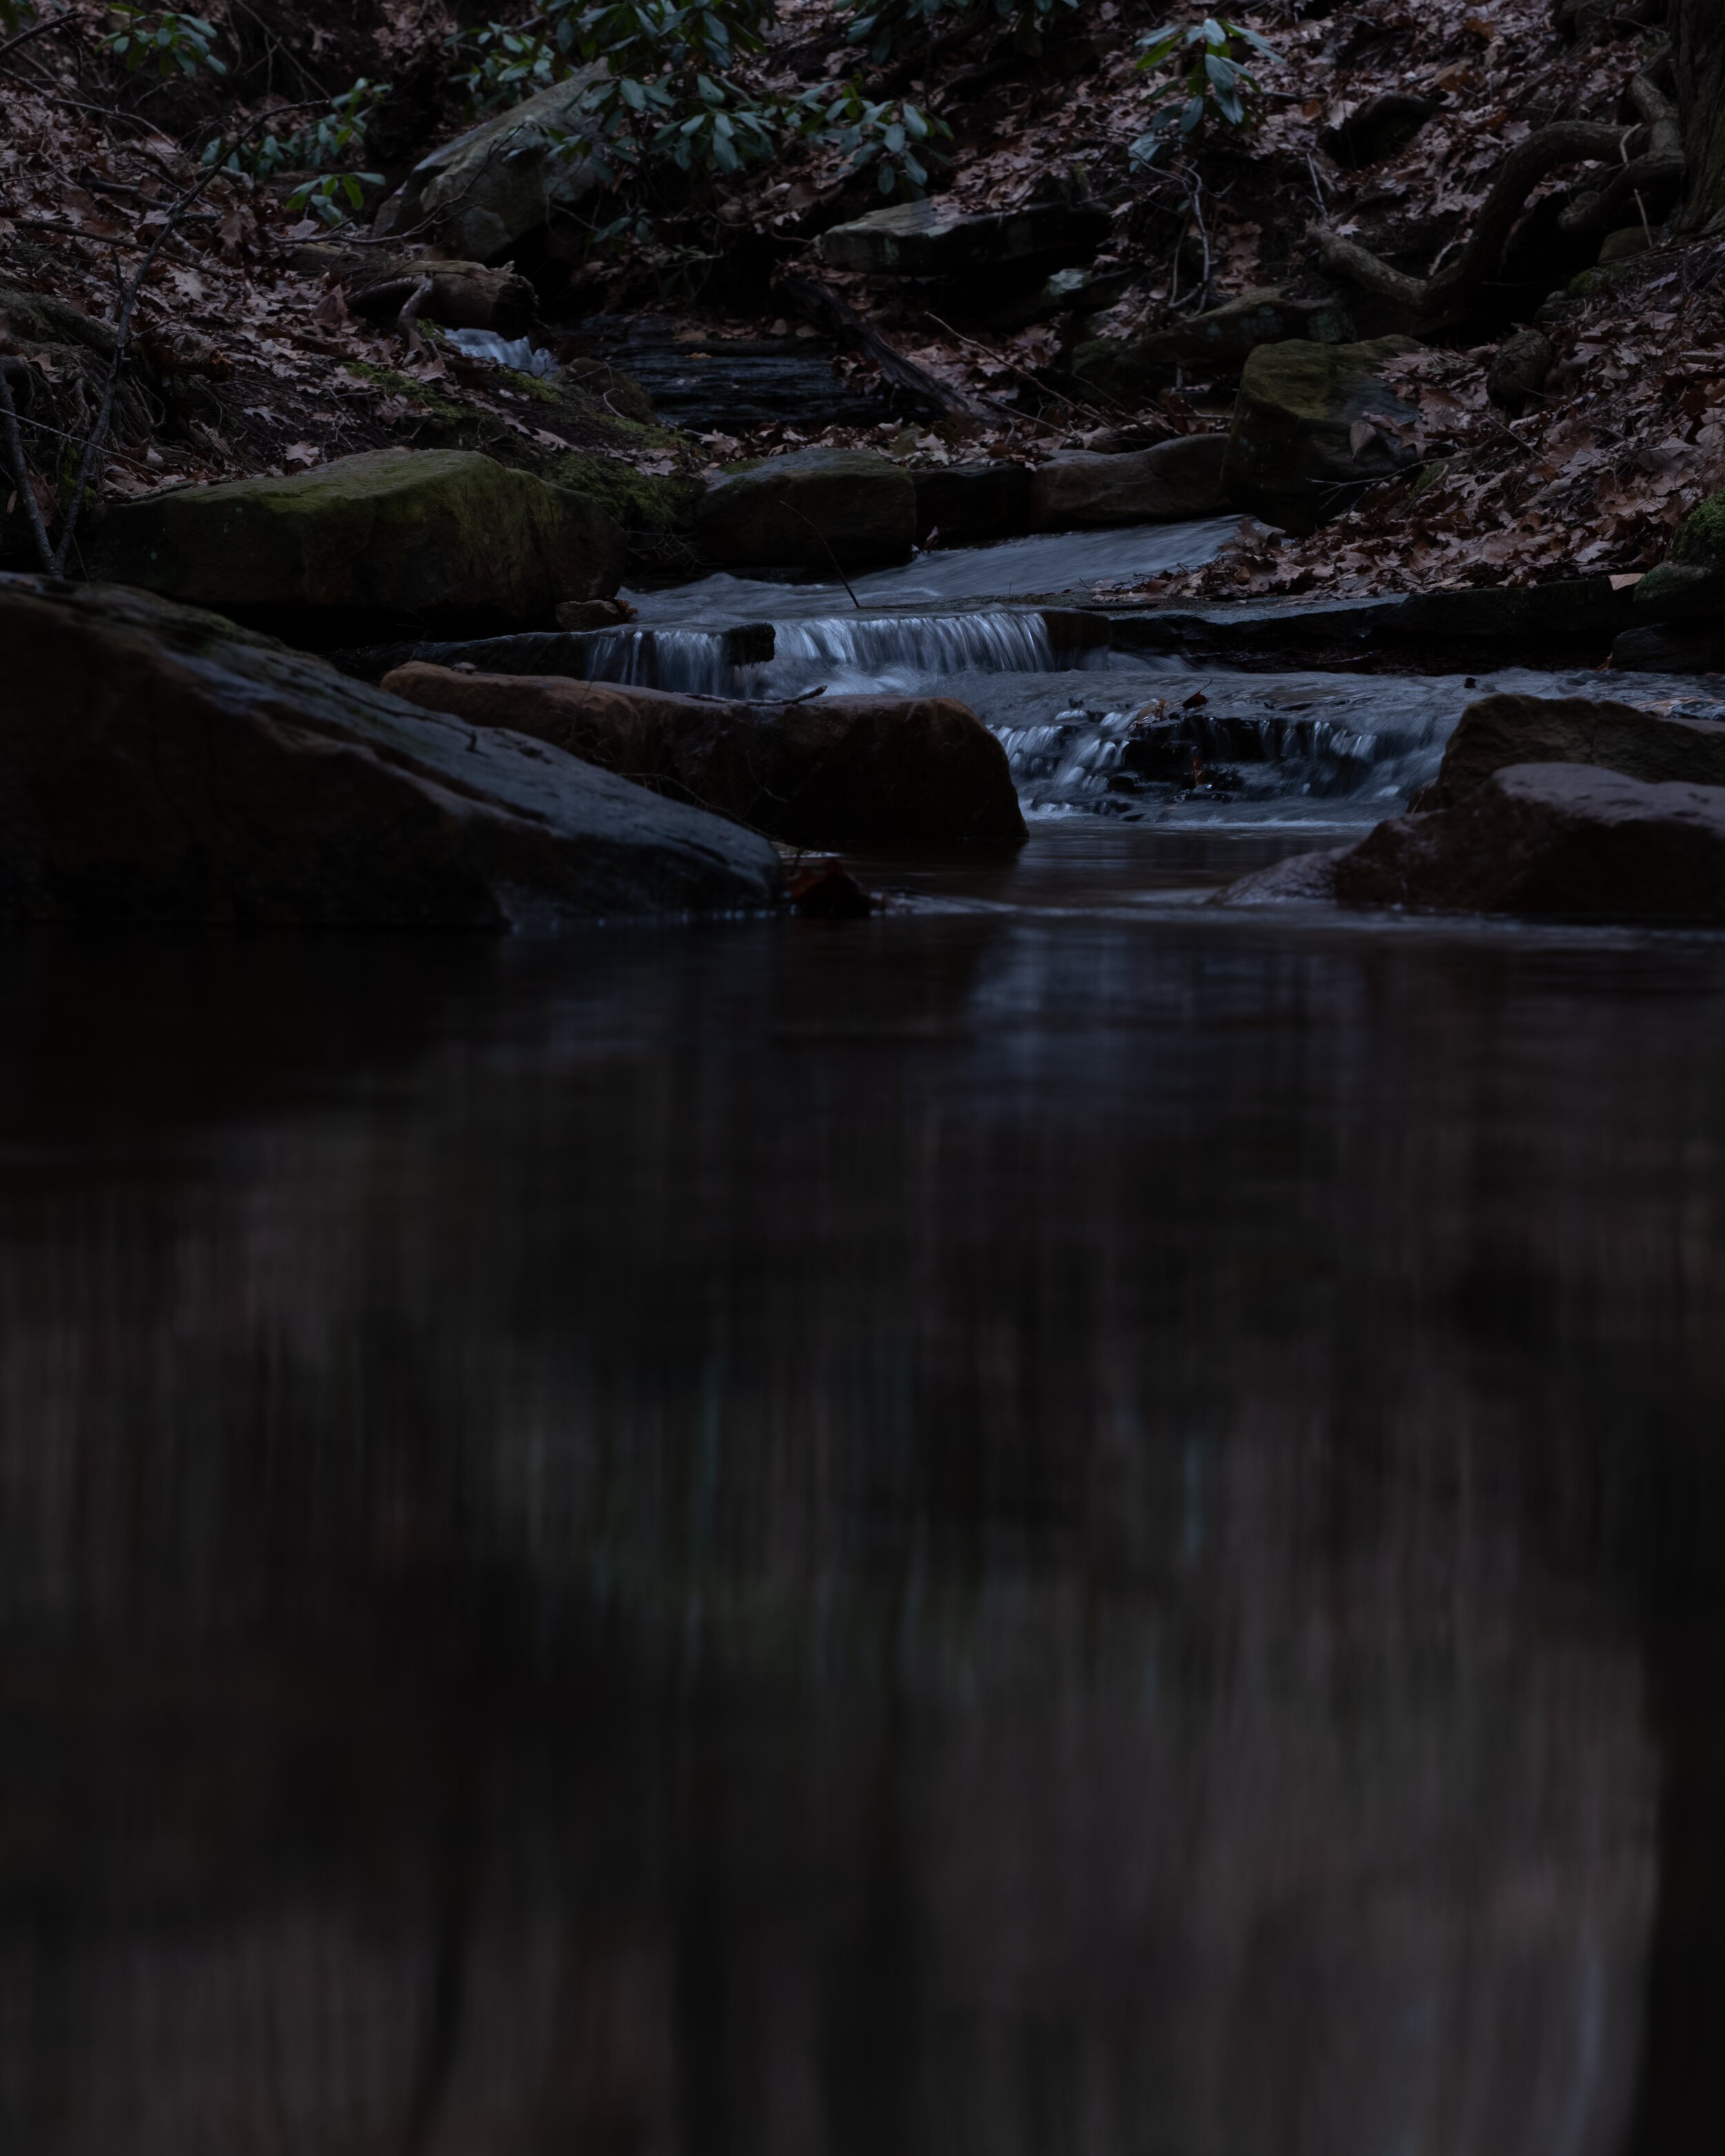
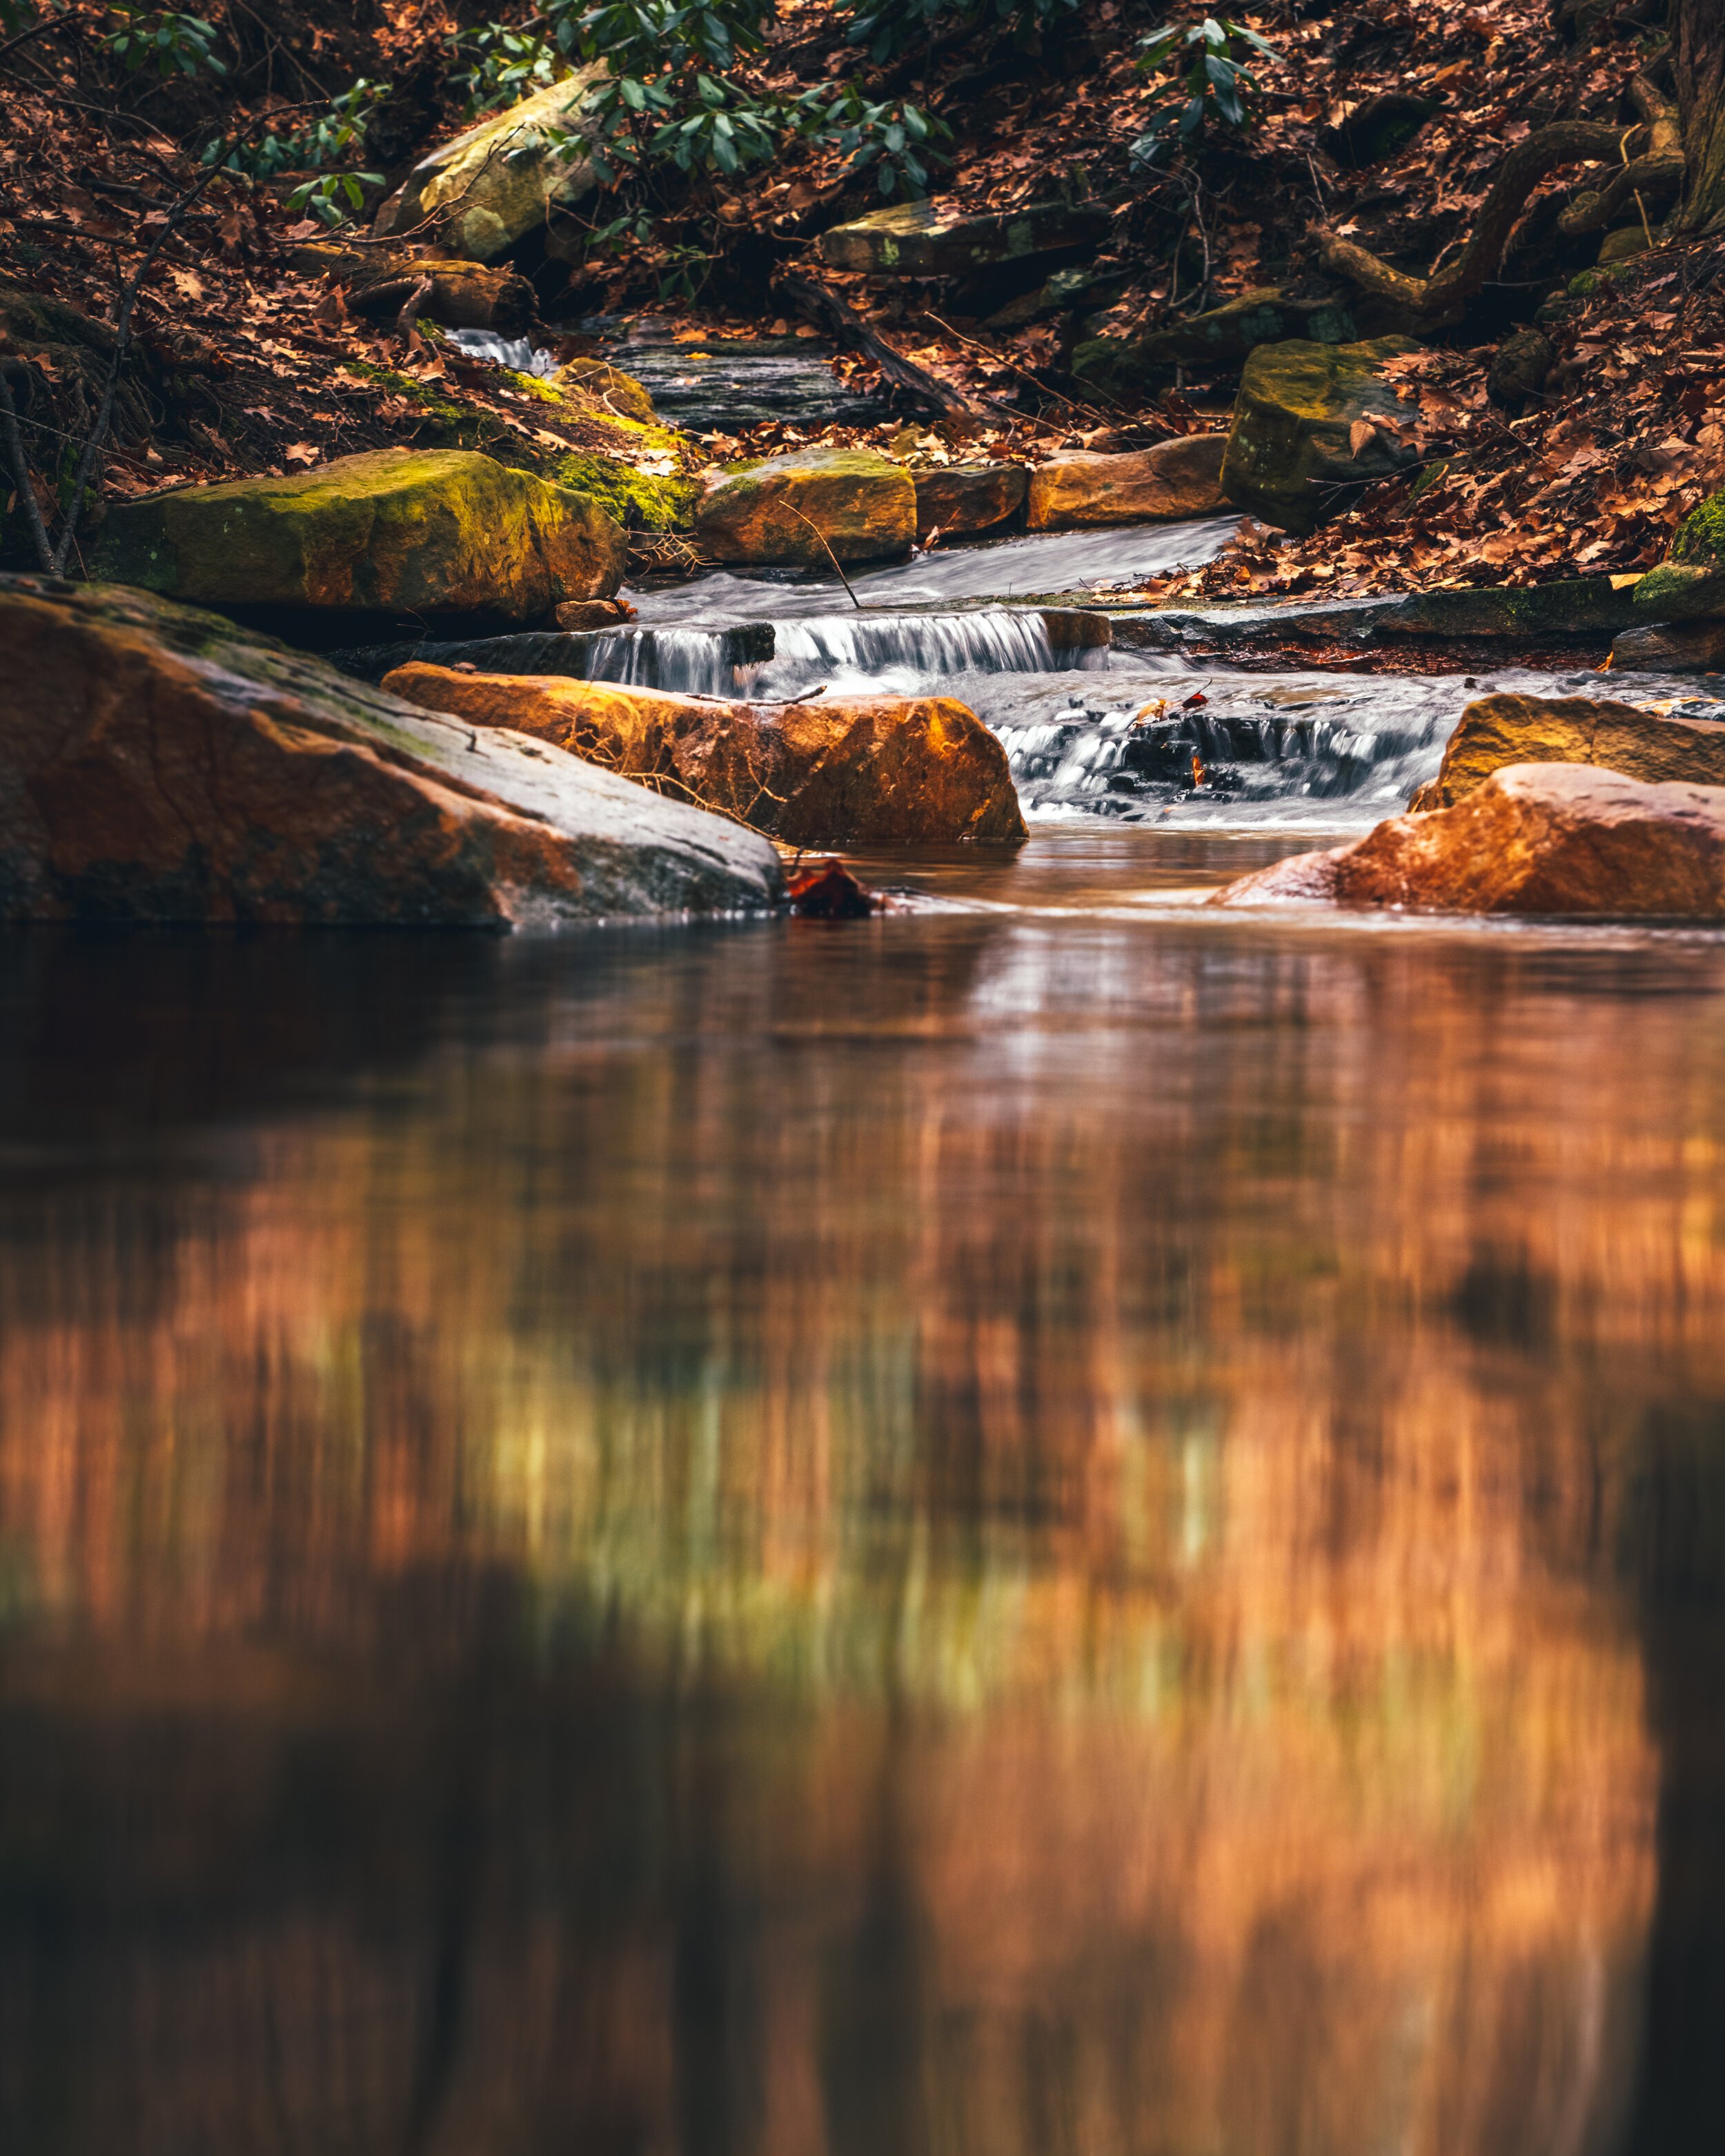
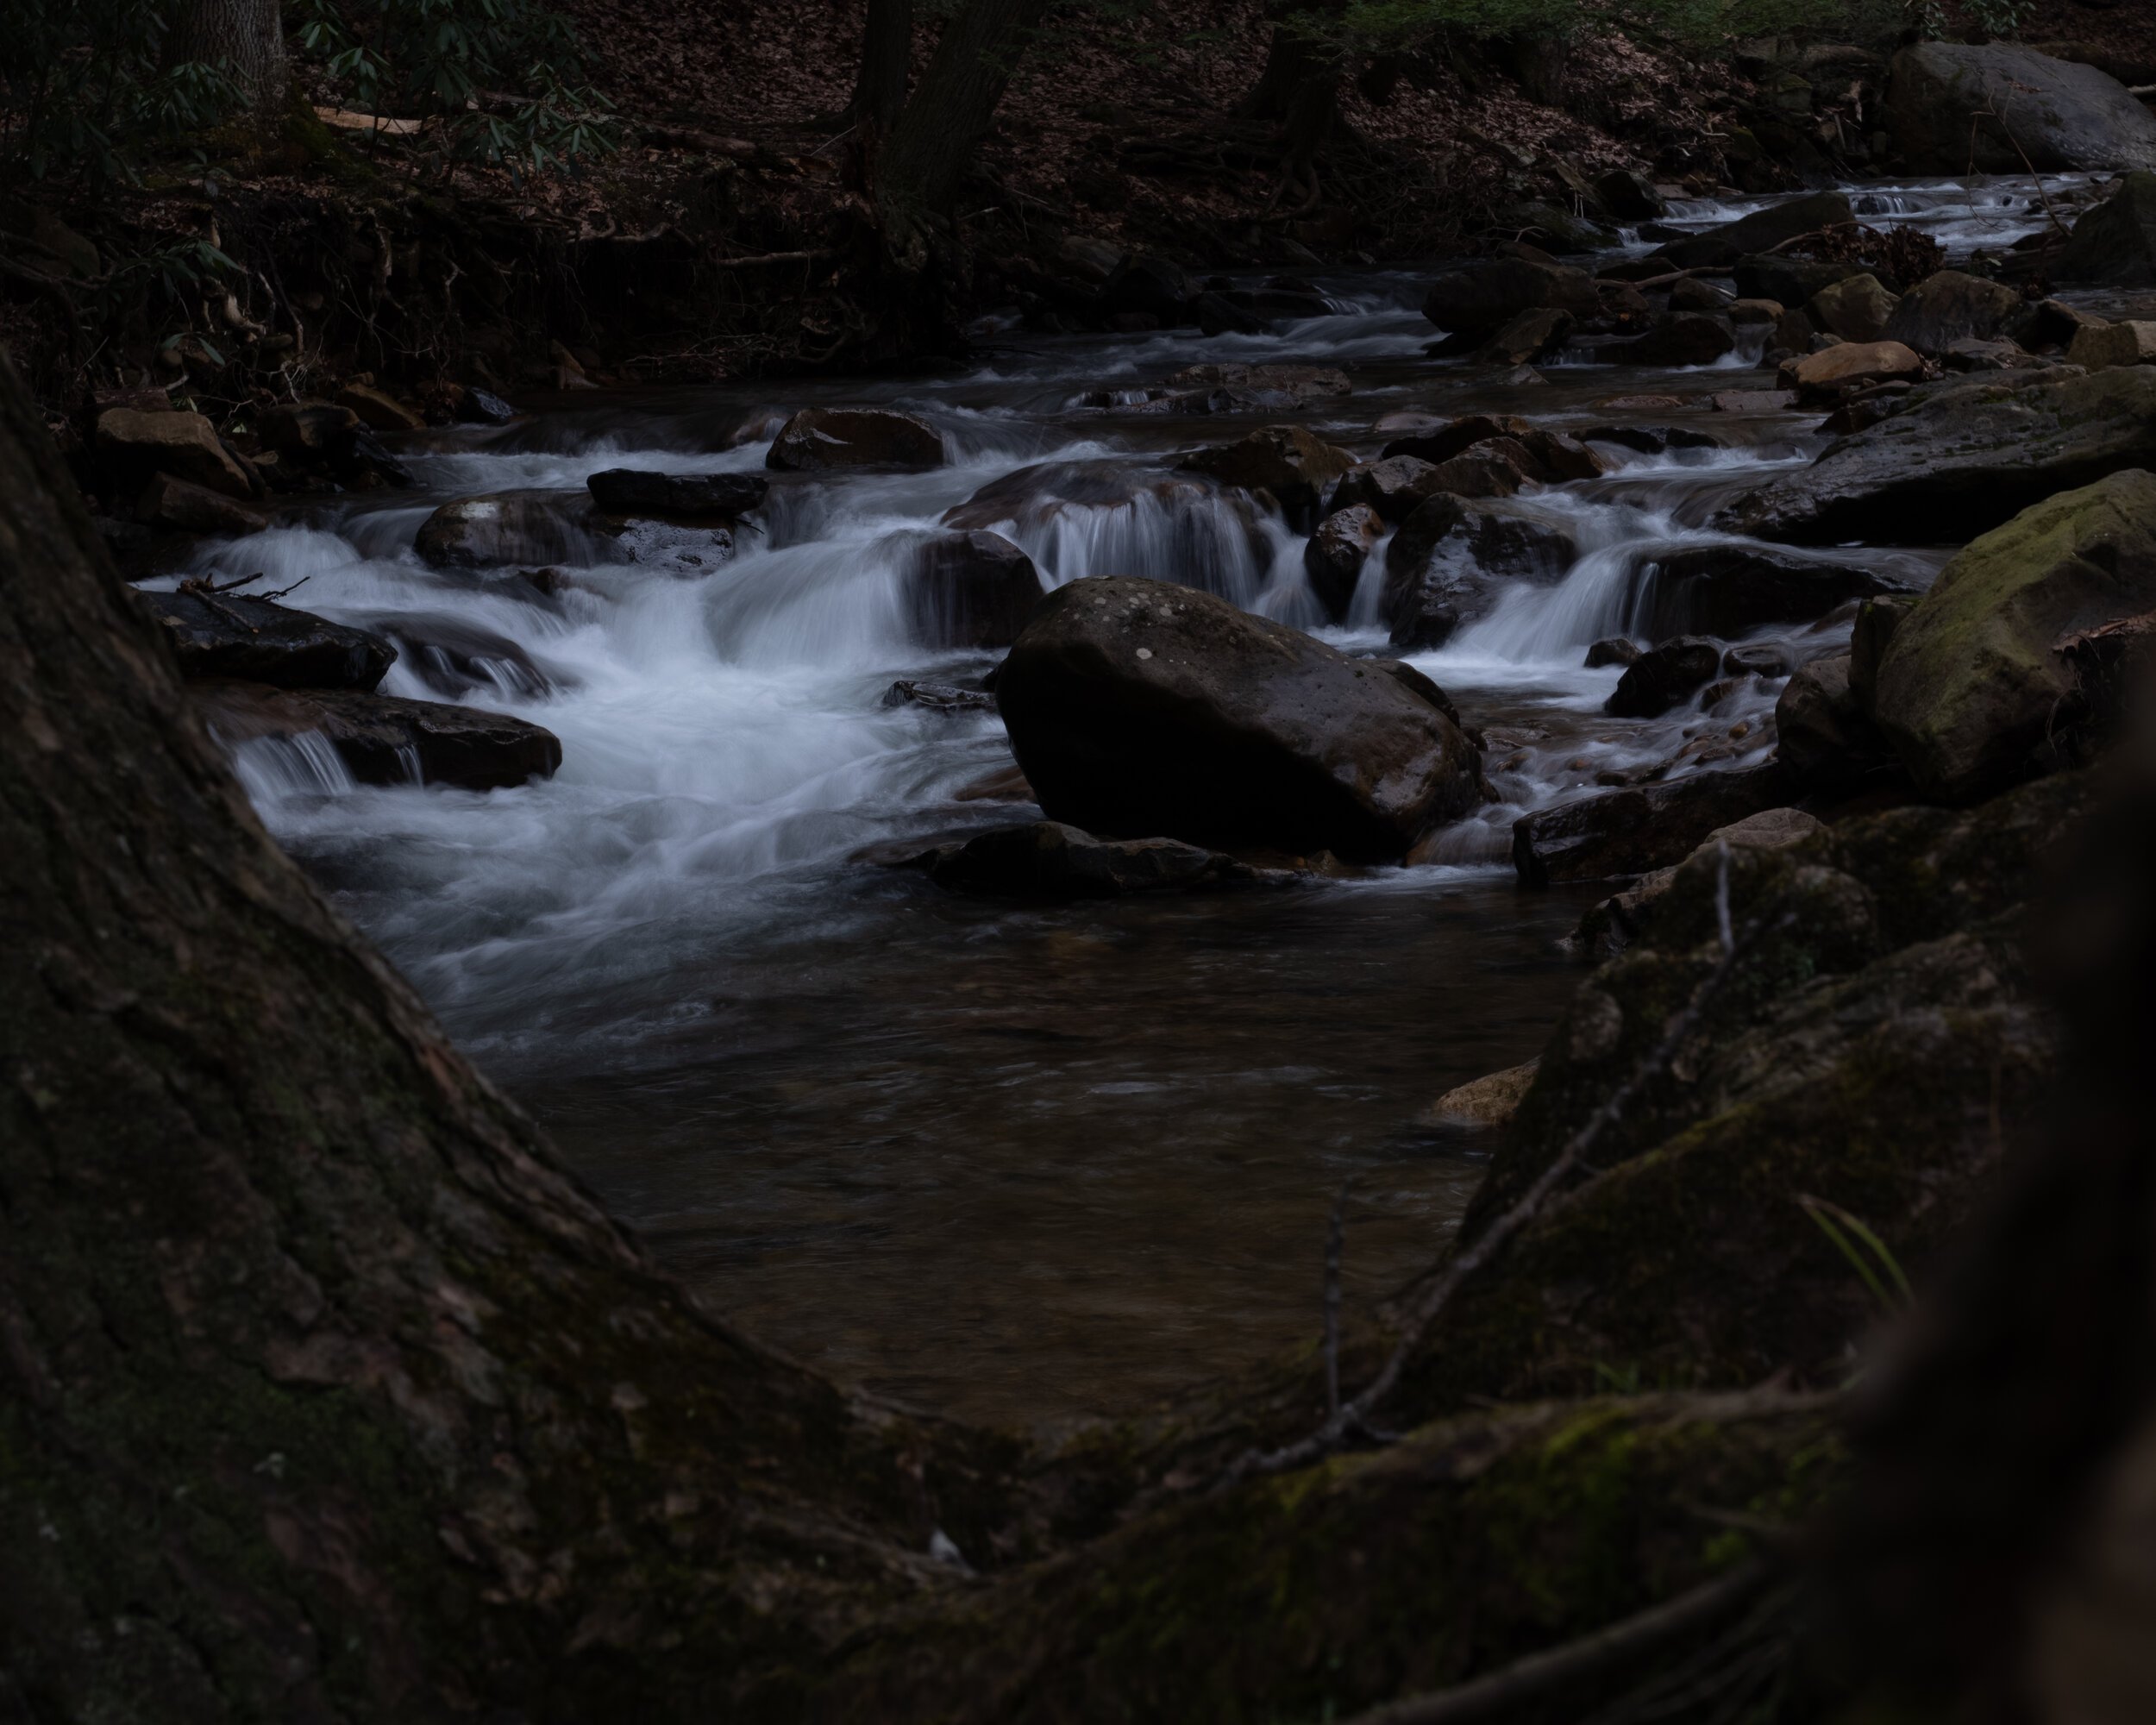
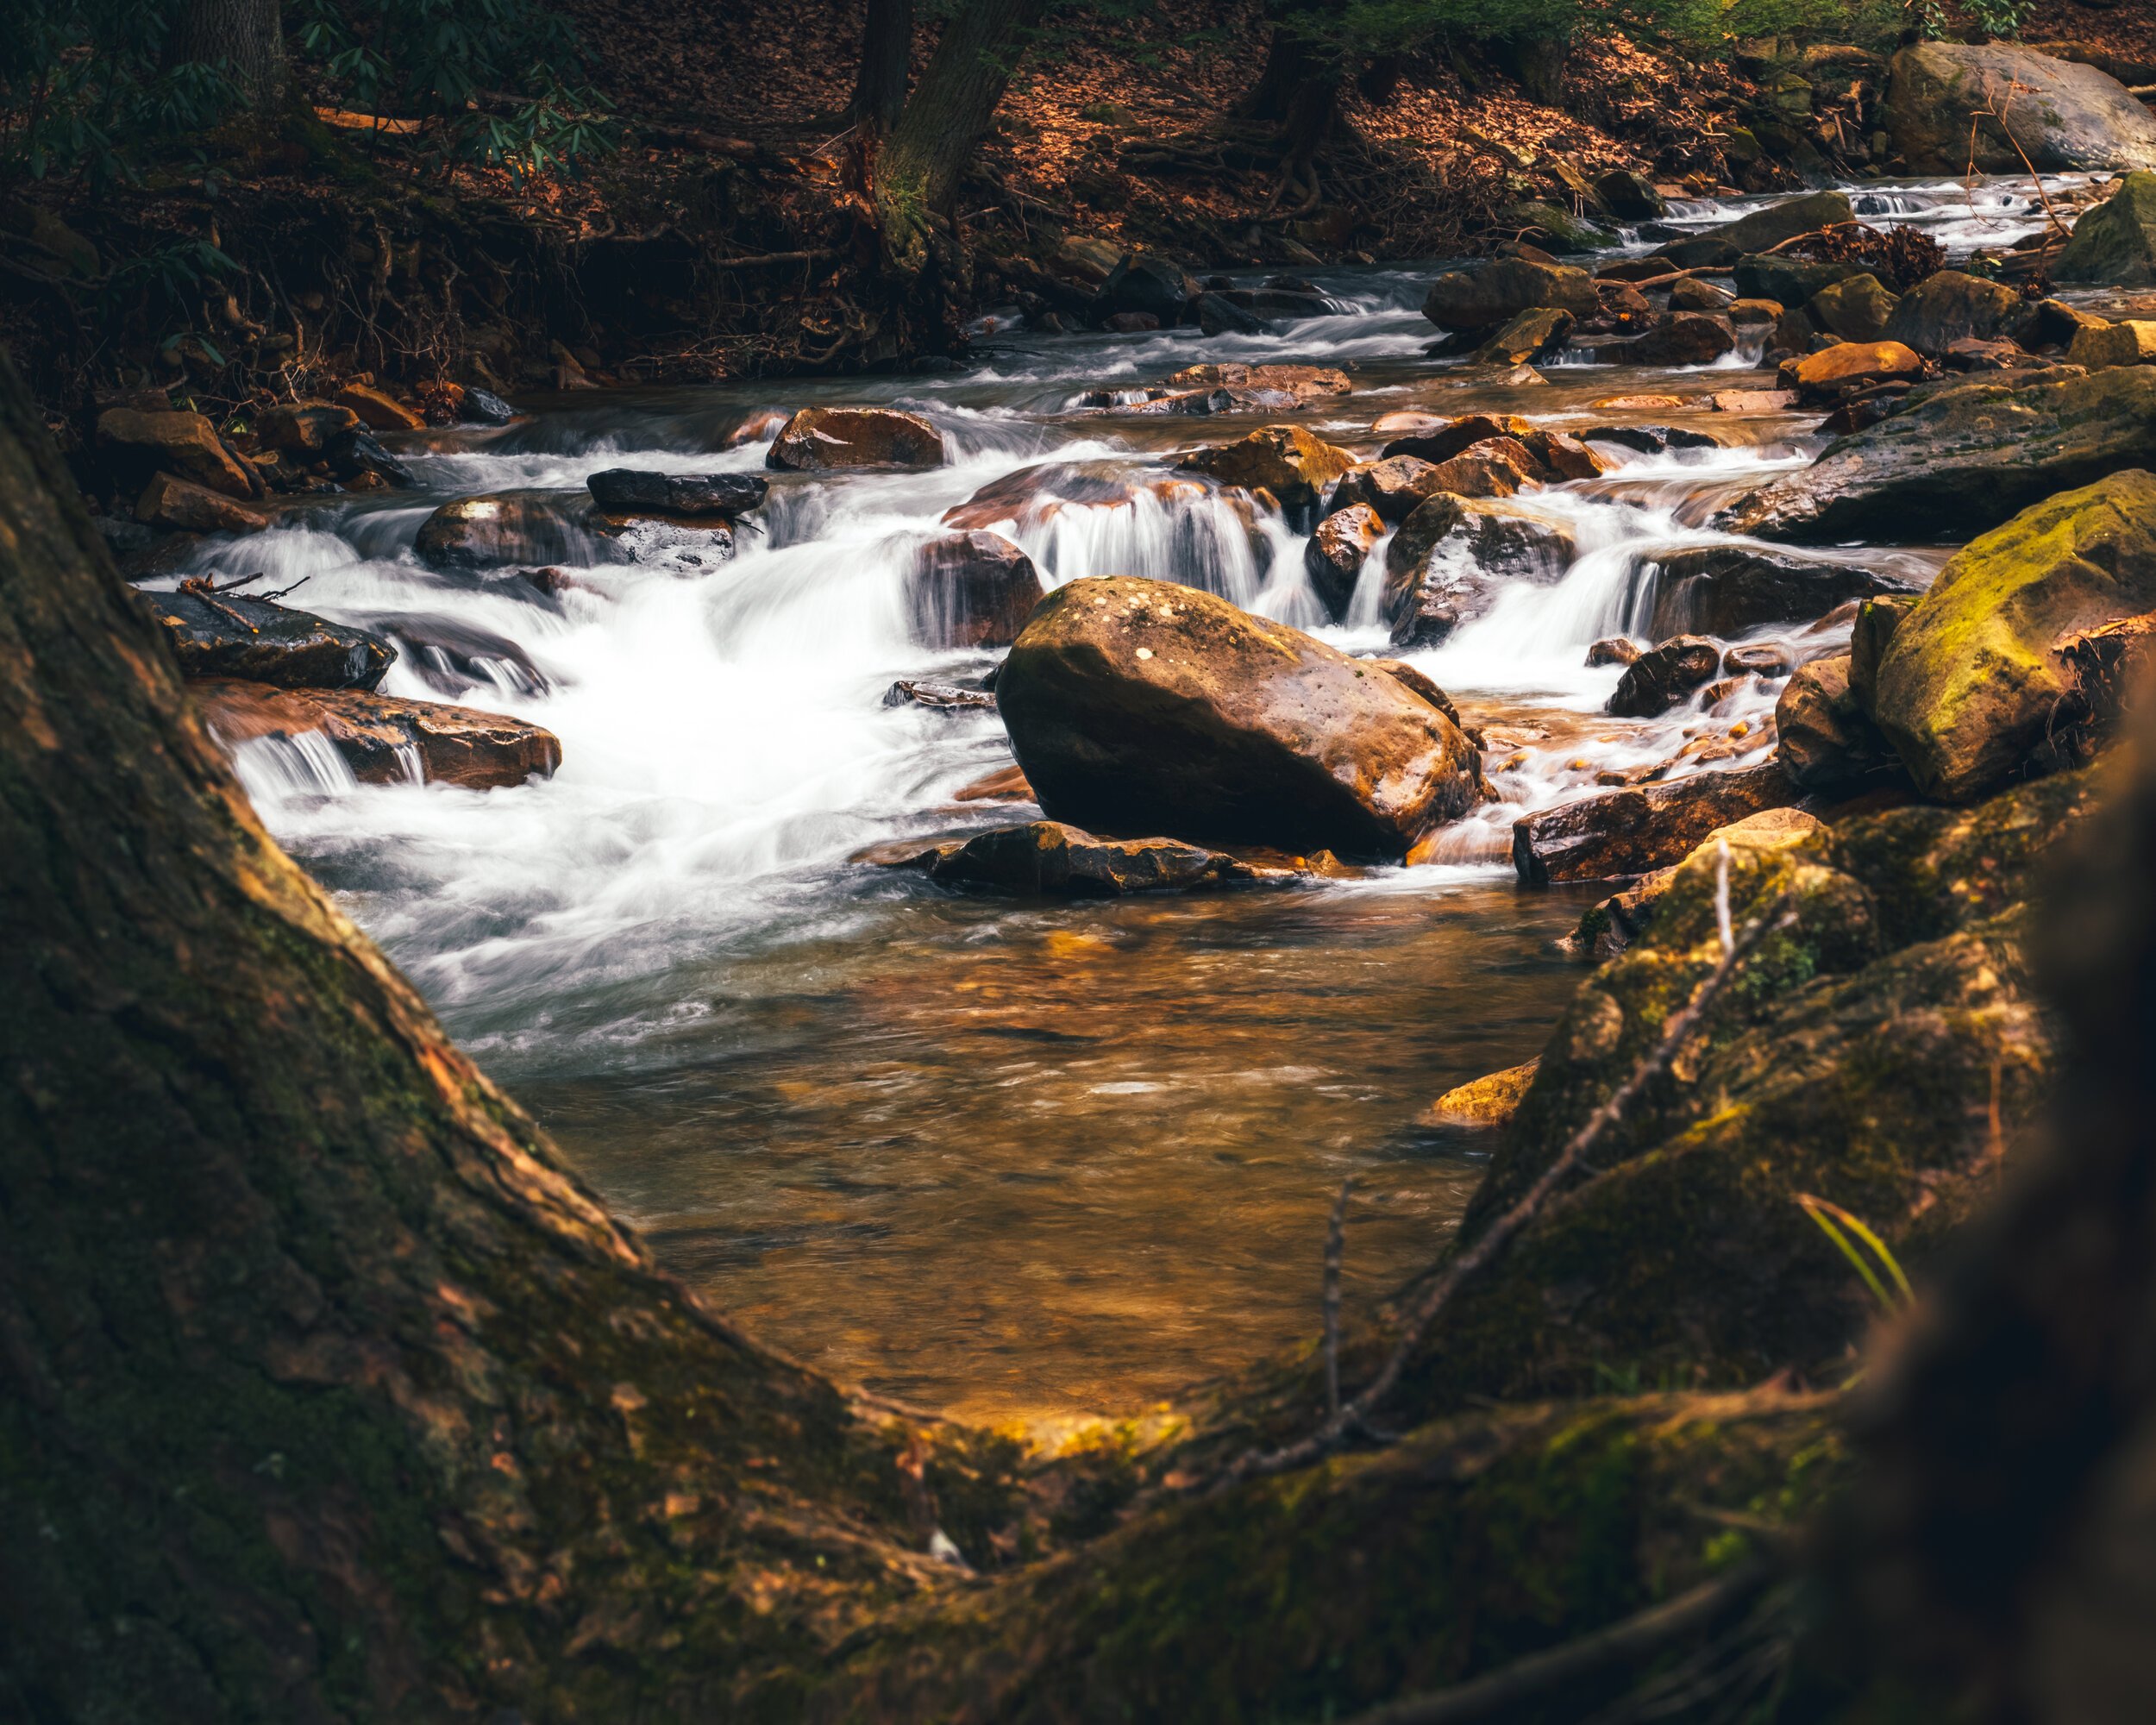
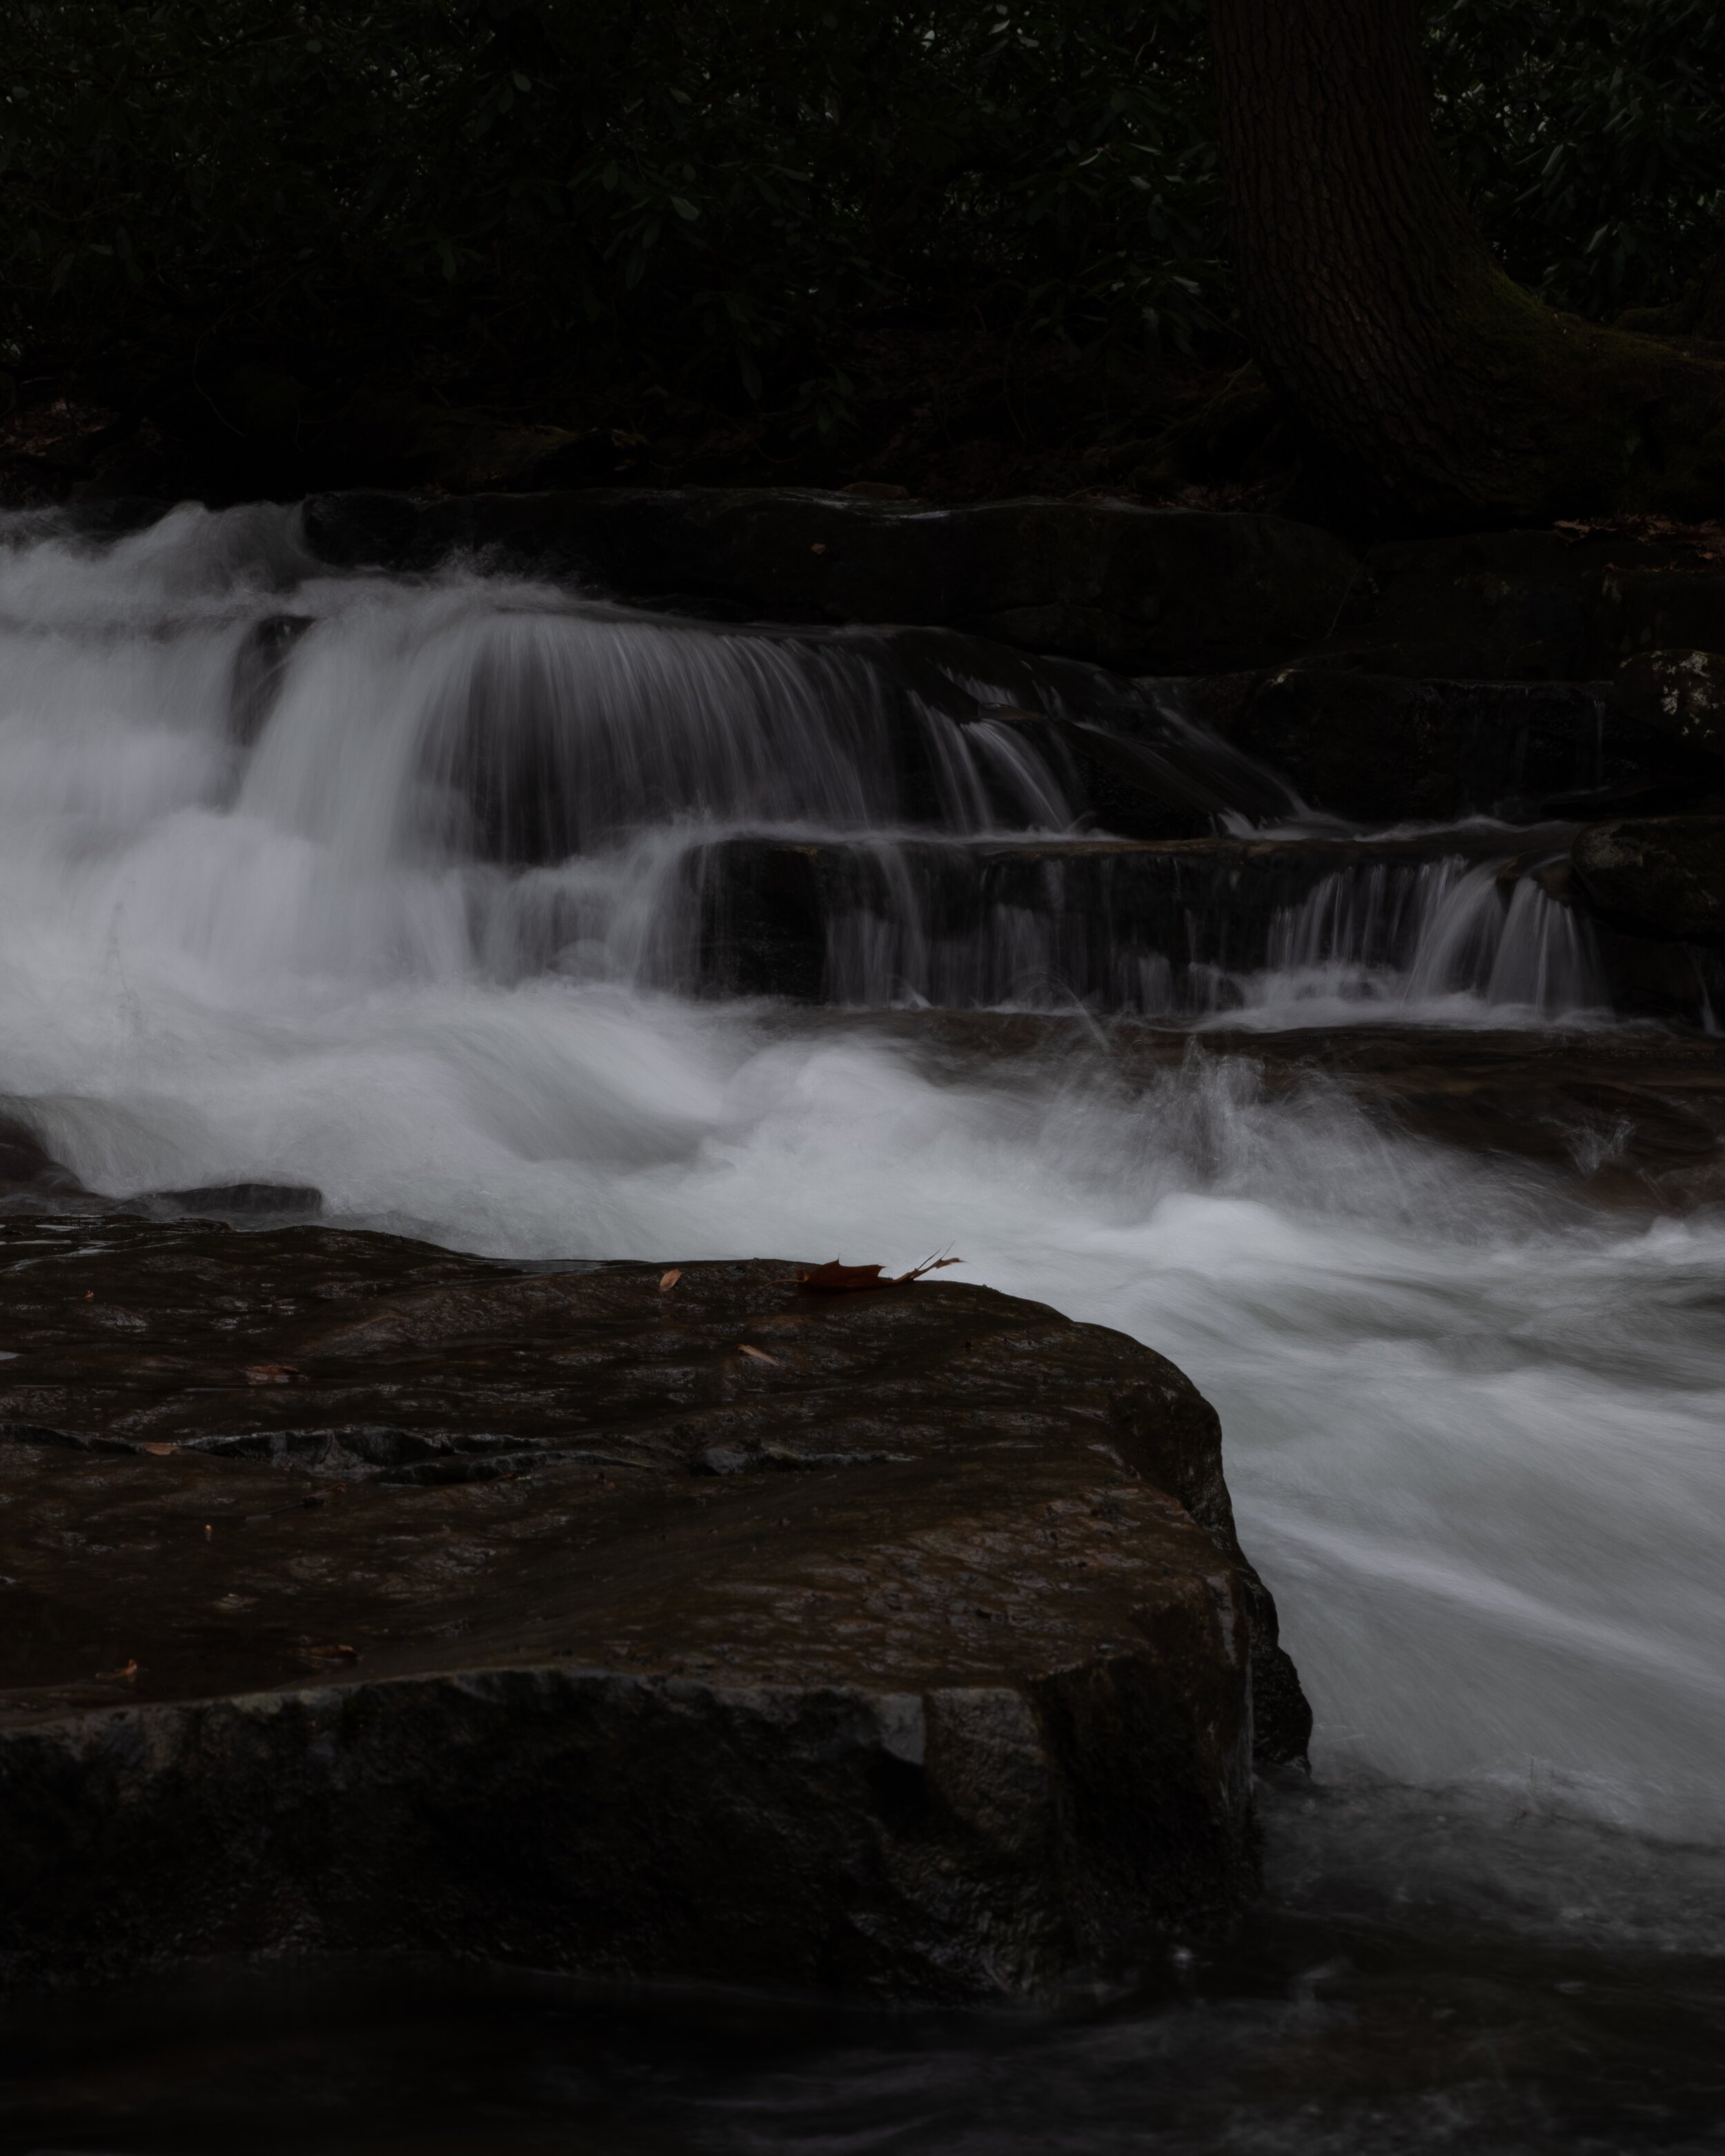
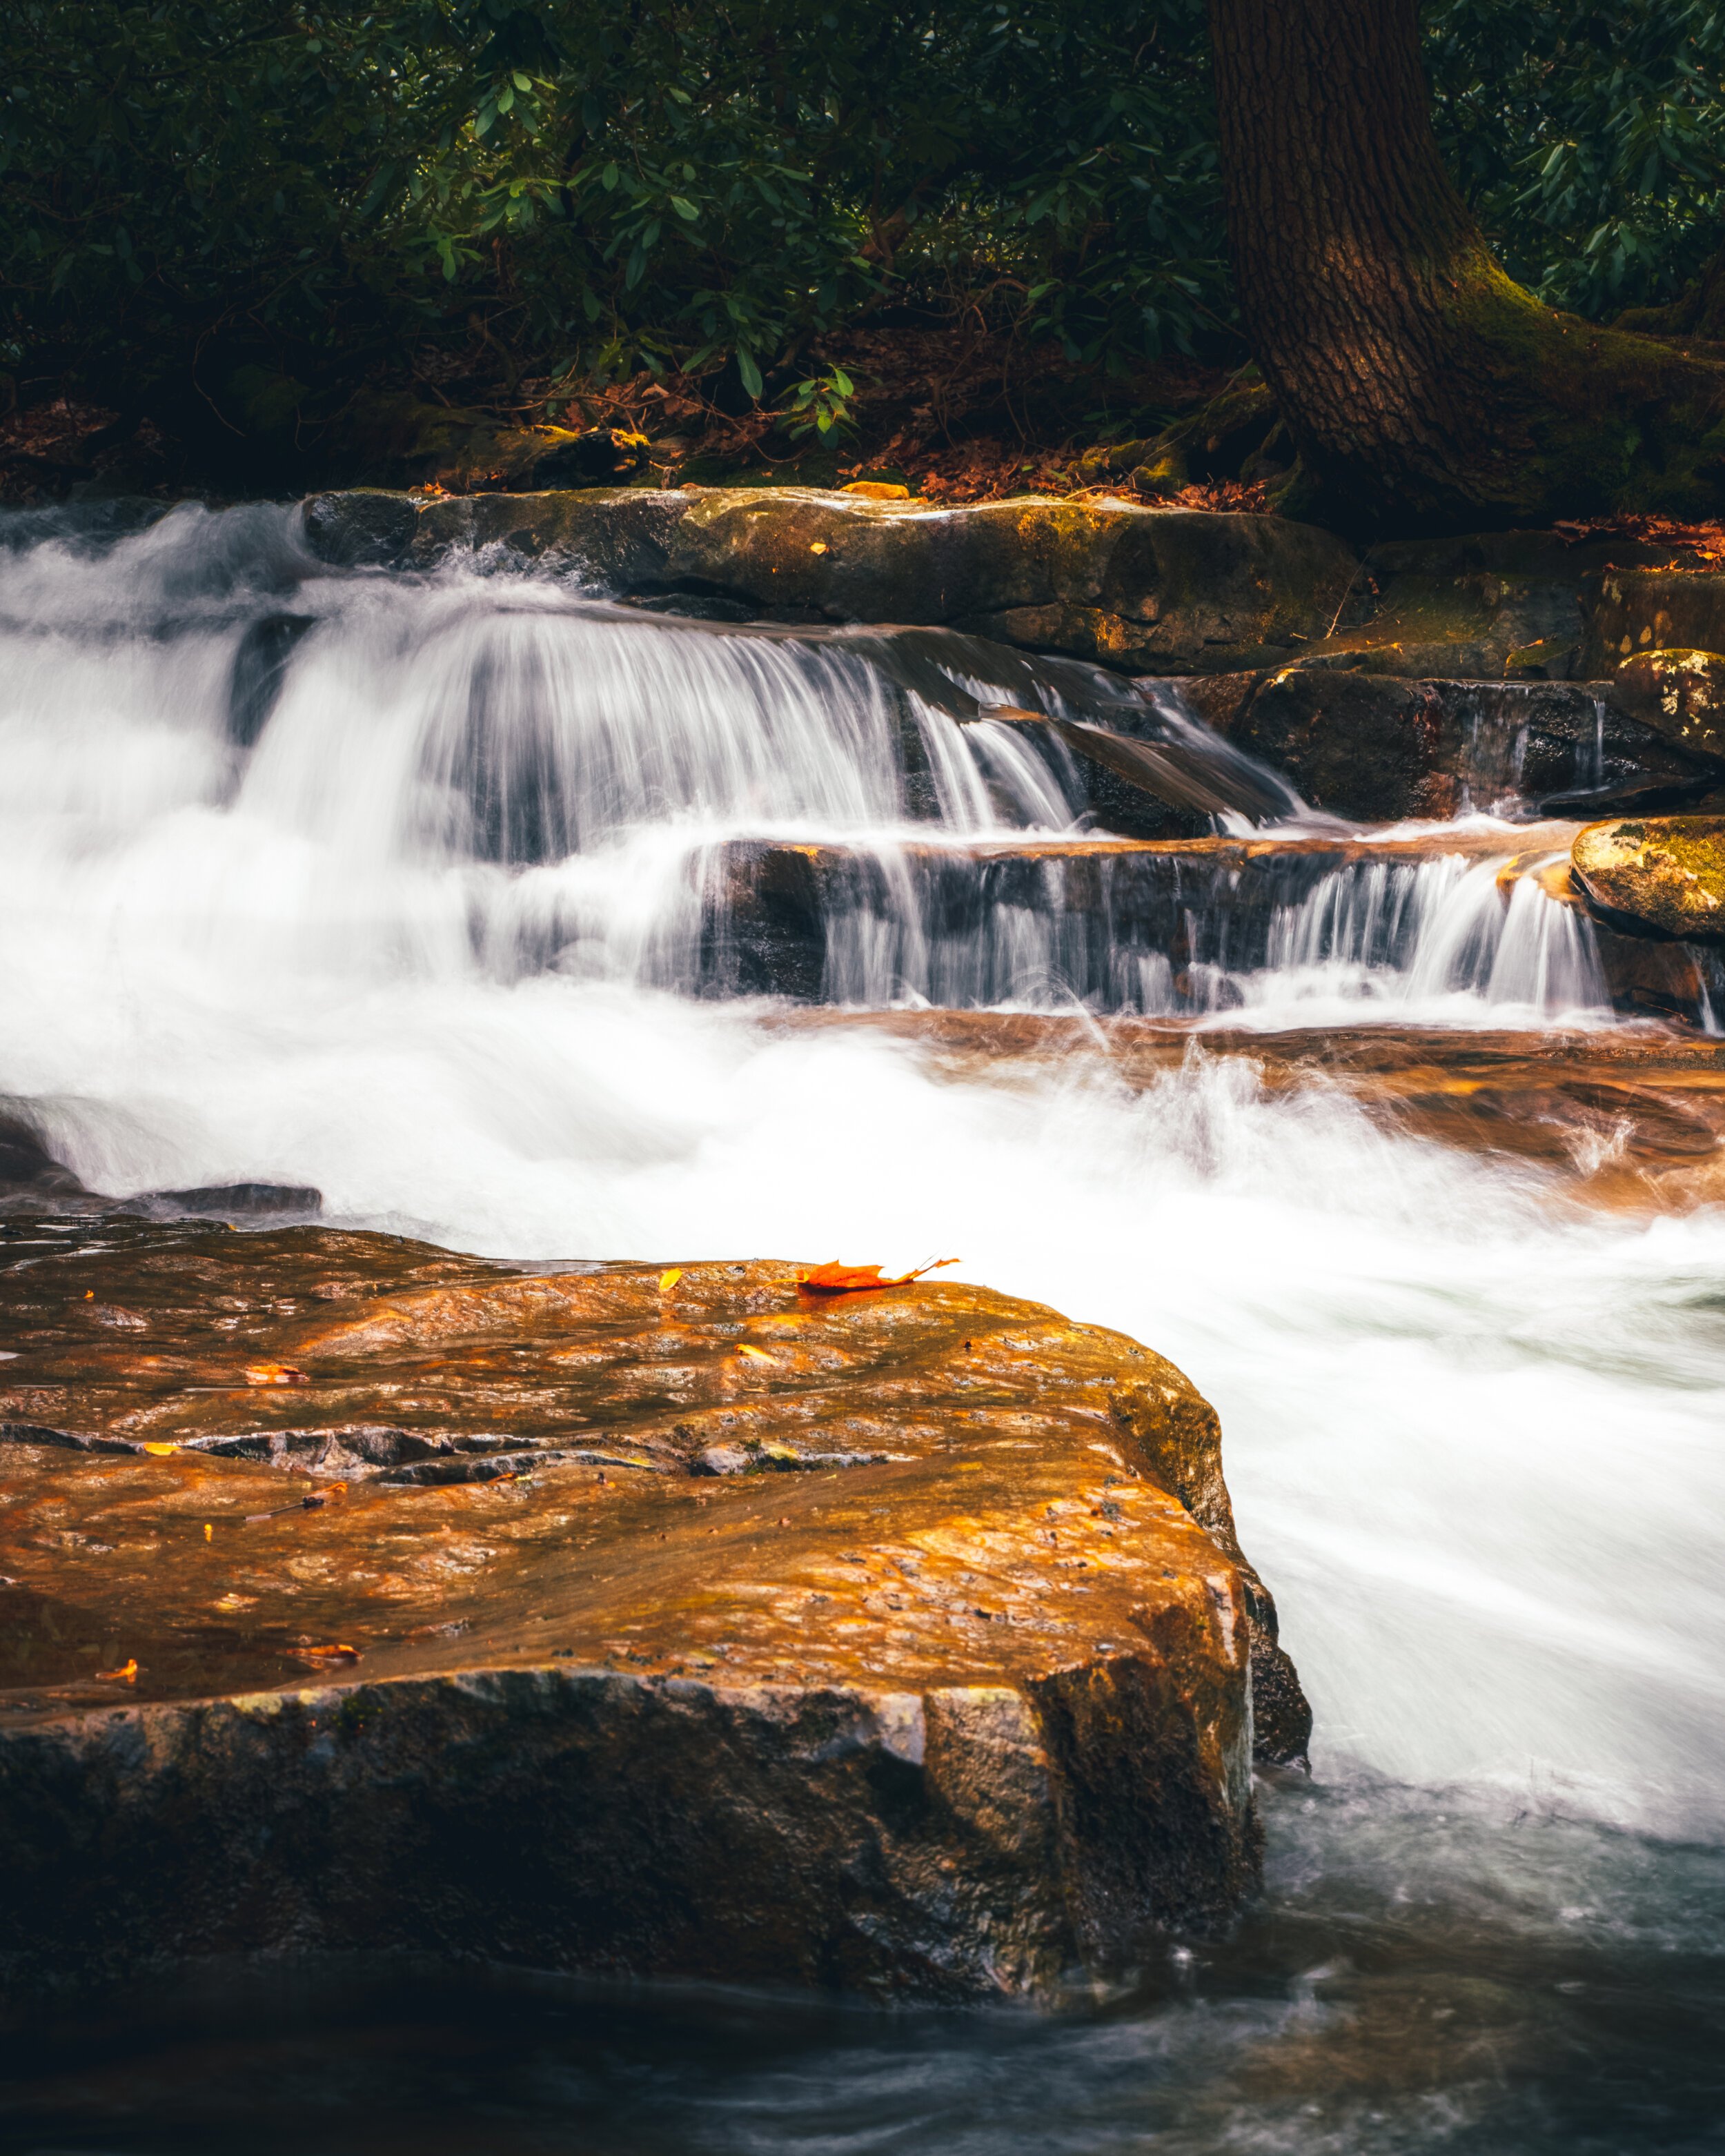
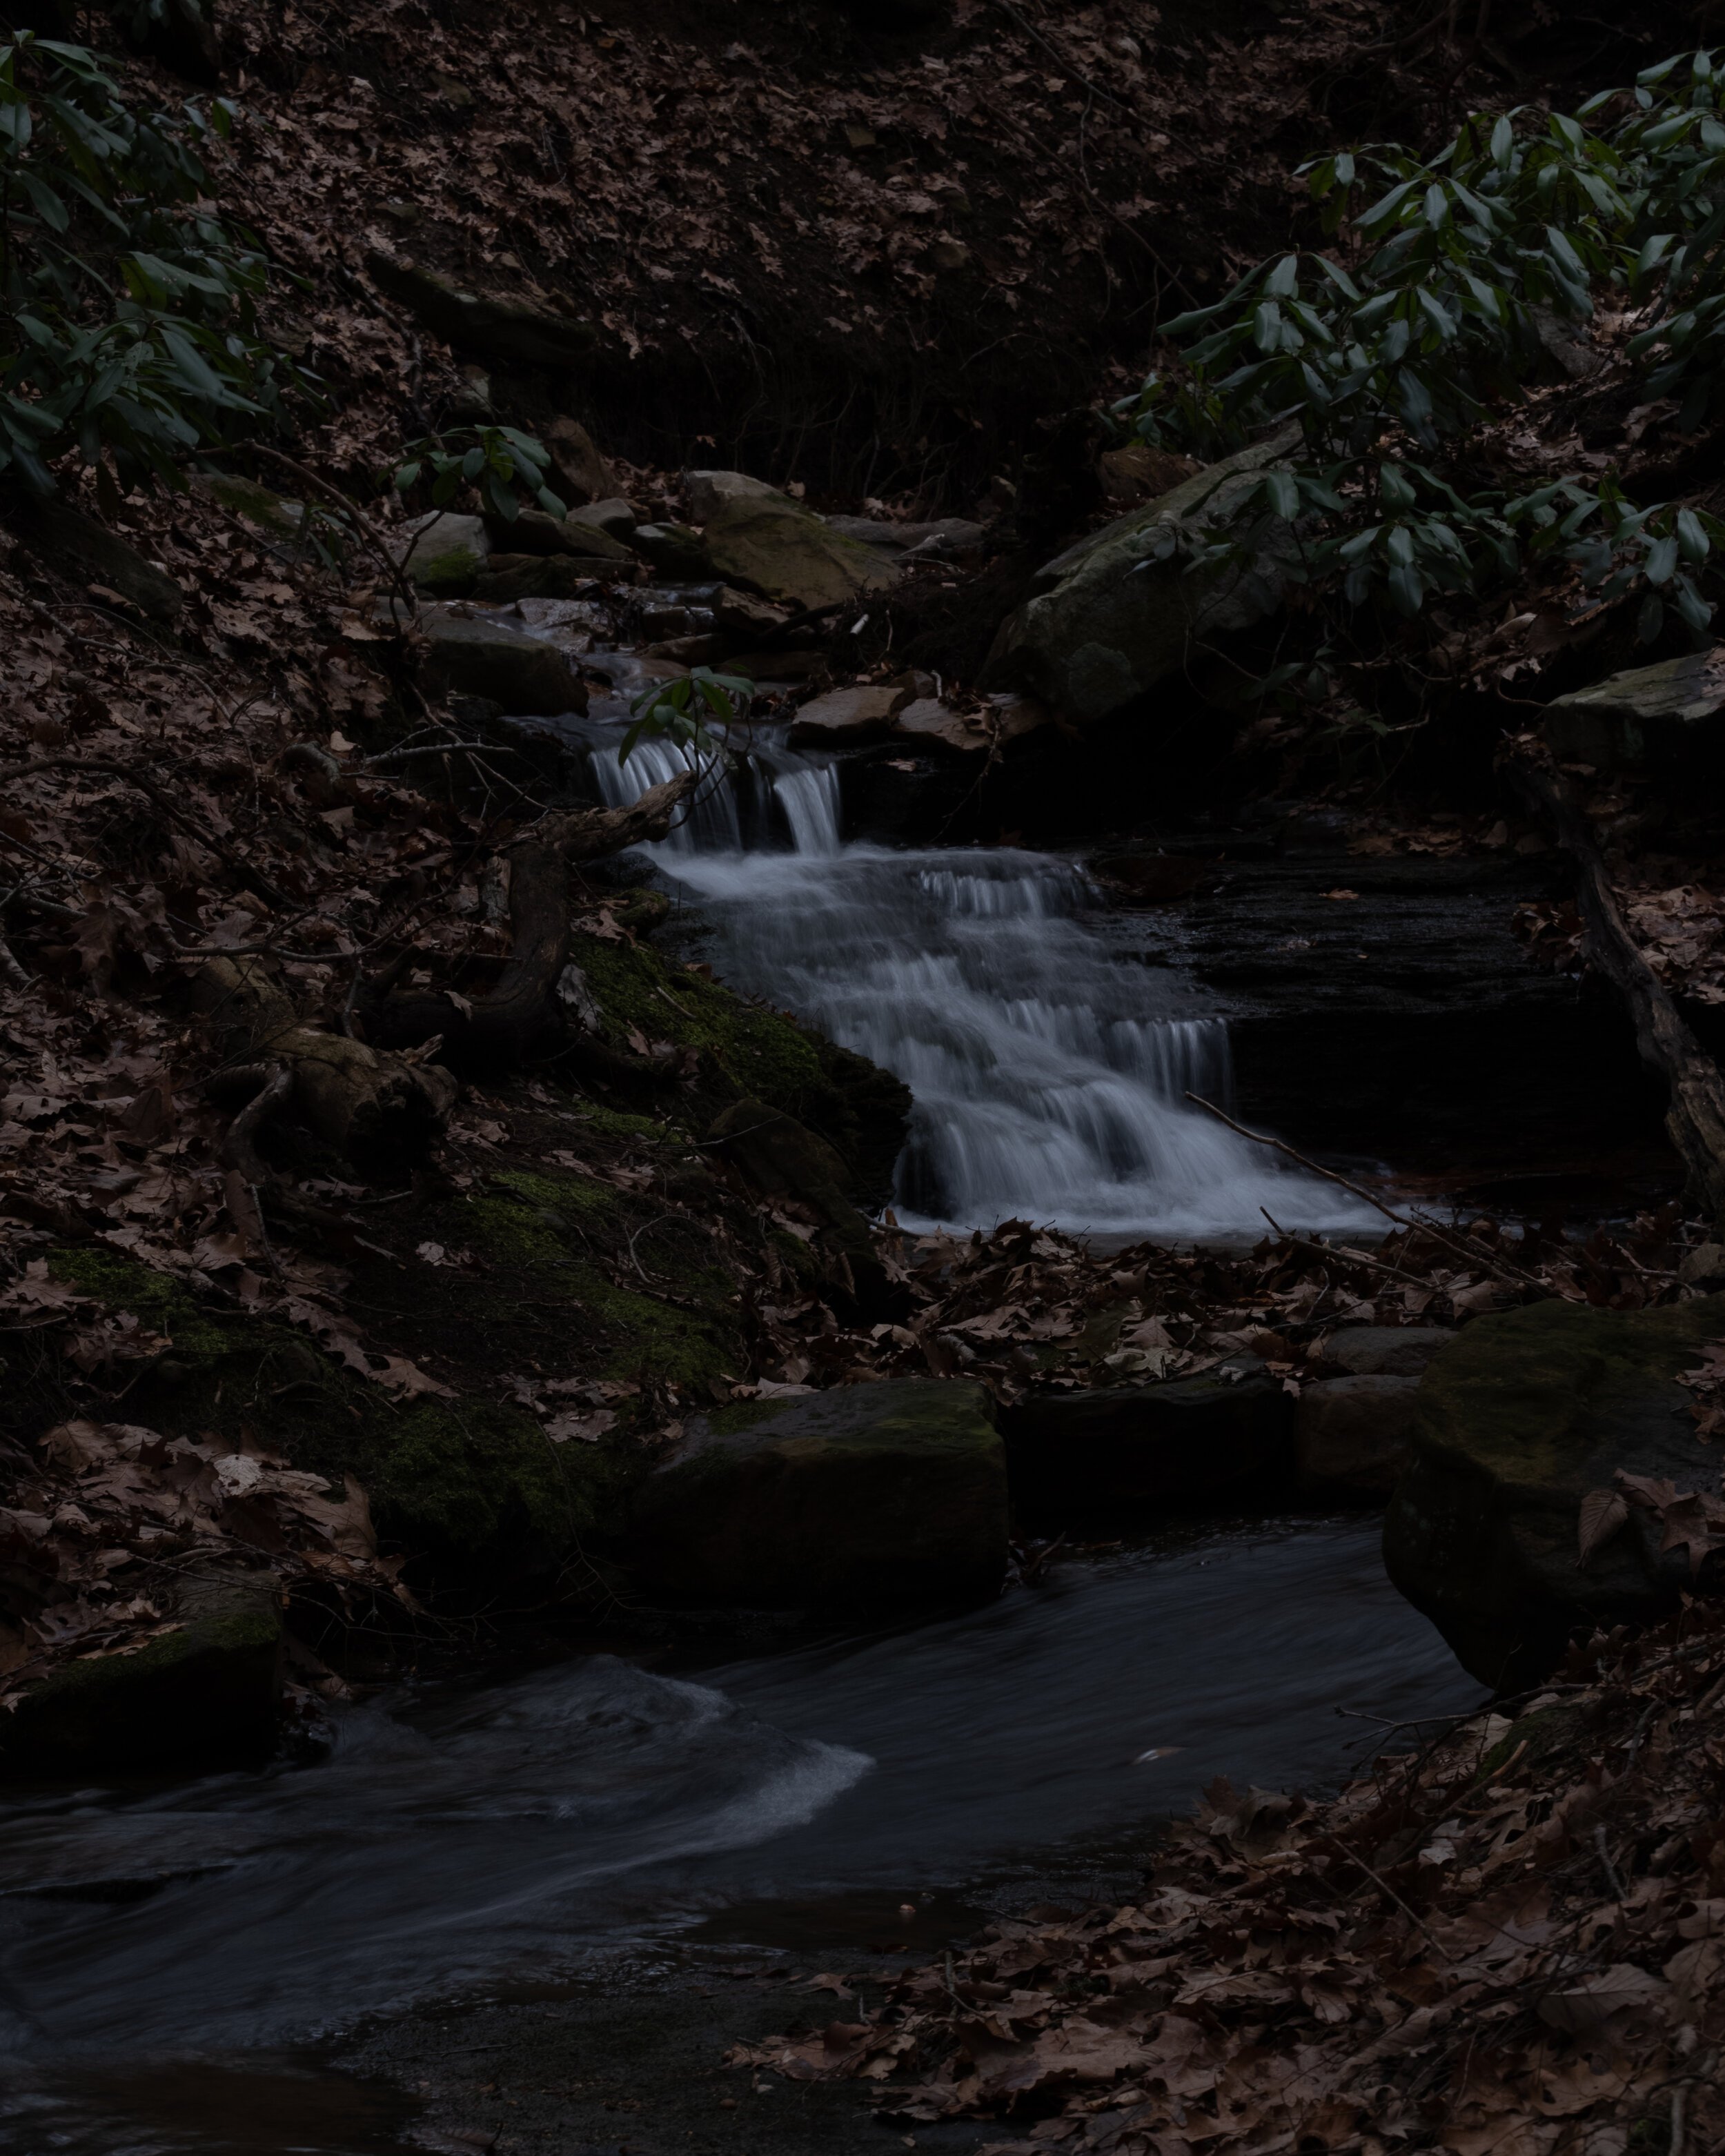
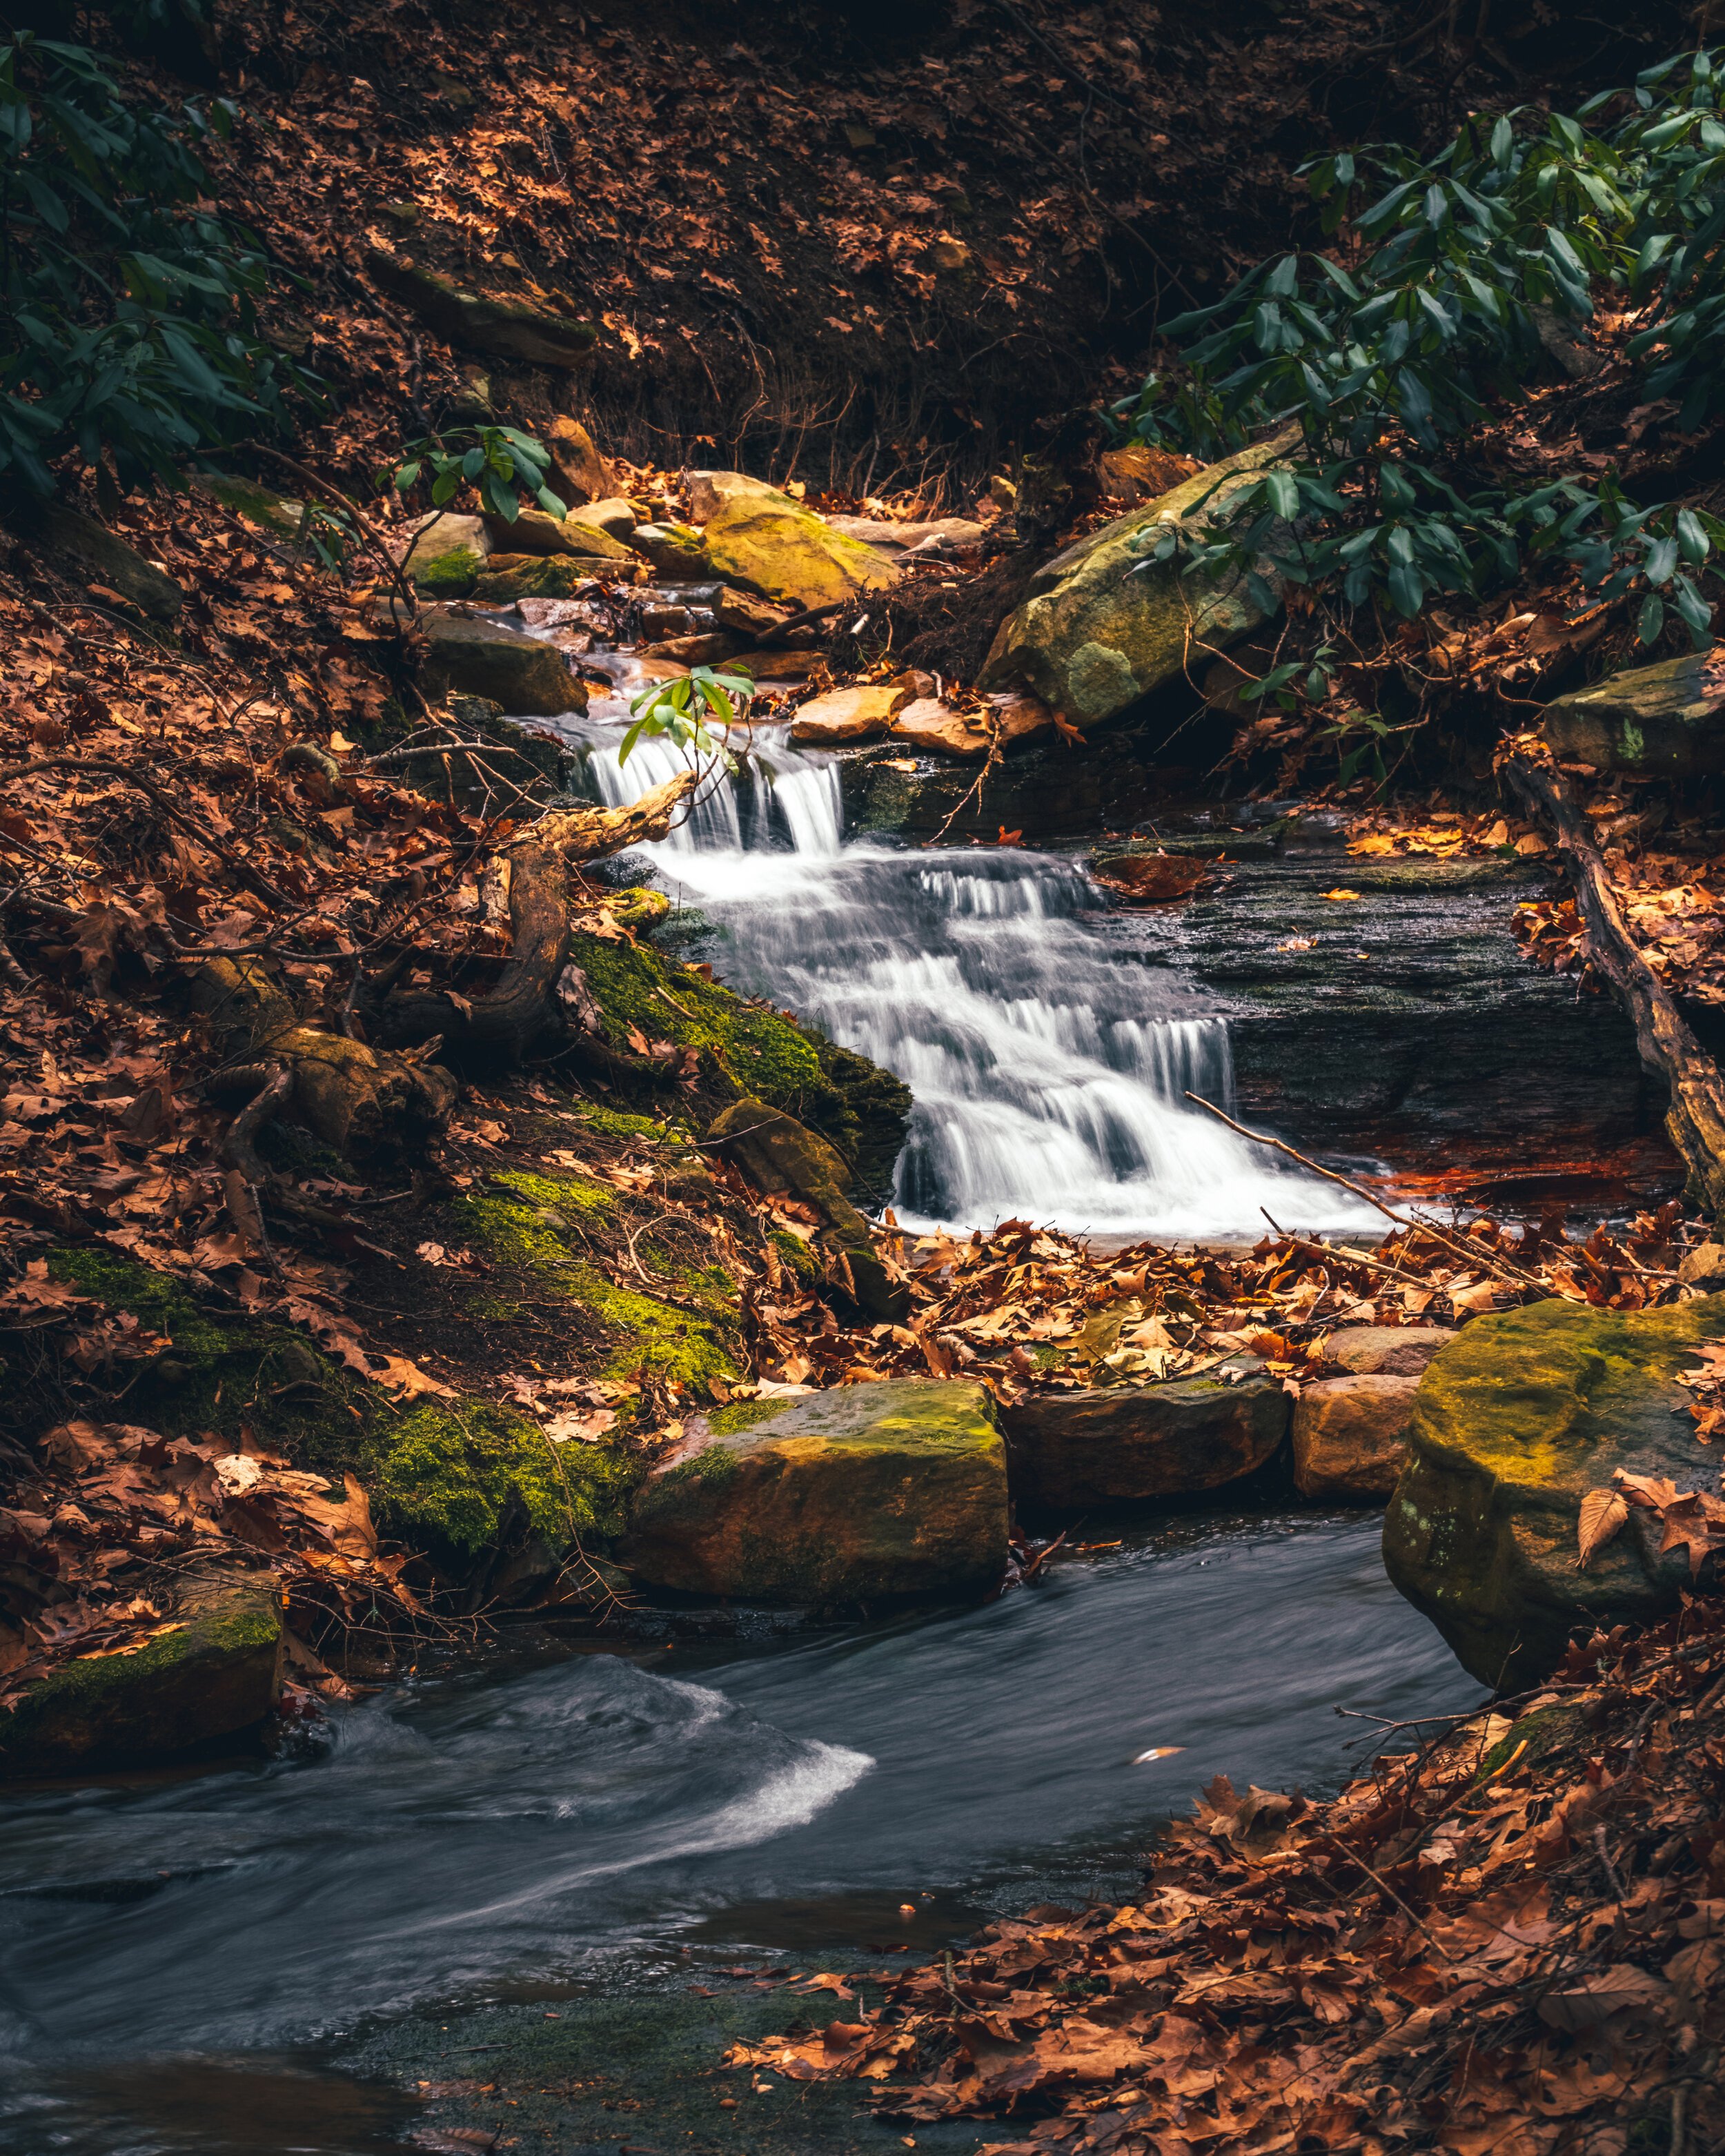
So what does all this mean for photos? While this is great when shooting video and helps to give the camera an extra boost in dynamic range, this underexposing of the sensor creates images that appear in Adobe Lightroom or Photoshop extremely dark and requires you to add +2 EV to every single shot before you can even begin base corrections and editing.
This underexposed image is also arguably less important with photos because the very nature of a RAW file being 16bit already has much more information in the highlights and shadows than the 8bit or 10bit video footage you are working with in video mode. Adjusting the sensors sensitivity proves much less beneficial.
ADVANTAGES
While certainly the disadvantages outweigh the advantages, shooting with the VLog profile enabled does carry one main advantage. If you tend to shoot in very bright or contrasty environments, having the image underexposed on the sensor level does protect the highlights and most of the time you can recover the shadows without too much noise and are left with an image that has great looking dynamic range. The Panasonic S1 sensor truly is a fantastic sensor and gives you a surprising amount of latitude to boost shadows and retain exceptional amounts of detail. Below are a few before and after examples of this.
DISADVANTAGES
A couple of the main disadvantages of shooting with VLog enabled is one that I have previously mentioned, you will have to add +2EV to every single photo prior to editing. While this doesn’t seem like a huge inconvenience if you are editing a handful of images, the last engagement shoot I did included over 980 images and took a considerable amount of time to apply these settings to every single image. Every minute that the computer is tied up doing simple tasks like this is an extra minute I can’t spend editing or even previewing images.
The second disadvantage is if you are use to using presets in Lightroom, you have to export every image with the boosted exposure, bring them back in and then apply the presets. Another option is to apply the preset, adjust the exposure to preview the look and then if you want to apply a different preset, you will have to repeat this process for each one. This is a very time consuming process and in the end can eat up valuable time.
Third is that the base ISO for VLog is 640, so even the cleanest of images will have more noise once you boost the exposure. If you look at the DXO Mark review for the Panasonic Lumix S1 sensor, to get the cleanest images and most dynamic range out of the sensor, you will want to shoot at 50 ISO. This is simply not possible due to the limitations of VLog and so inherently the quality of the final photo’s will be hurt when you shoot with this profile enabled.
Lastly, if you happen to use the S1 to shoot in JPEG and not RAW, you will not have the latitude to boost the exposure without the image falling apart. Unfortunately, due to the nature of JPEG files, this mistake could render an entire shoot useless.
So there you have it, for everyone that has accidentally shot with VLog enabled on their Panasonic Lumix S1 and thought, what is the world is going on with these files, now you know the answer. My hopes is that Adobe can implement a profile in Lightroom and Photoshop so that when it detects a RAW file shot with the VLog profile it automatically adjusts the exposure value, but this still doesn’t change the fact that VLog images must be shot with an ISO of 640 and above.
Long story short, if you want the absolute best quality out of this camera, shoot photos in the Standard Profile and video in VLog. I am planning an upcoming video and blog post where I walk you though how I set up my custom C1, C2 and C3 profiles to shoot video and quickly switch between frame rates and then you can leave the photo profiles in standard. Like always, if you enjoyed this post and I was able to help in any way, drop a like down below and if you have any questions, please leave it in the comments and I will do my best to answer them. Thank you for reading and happy shooting everyone!


